
公司介绍
COMPANY PROFILE
我们
About Us
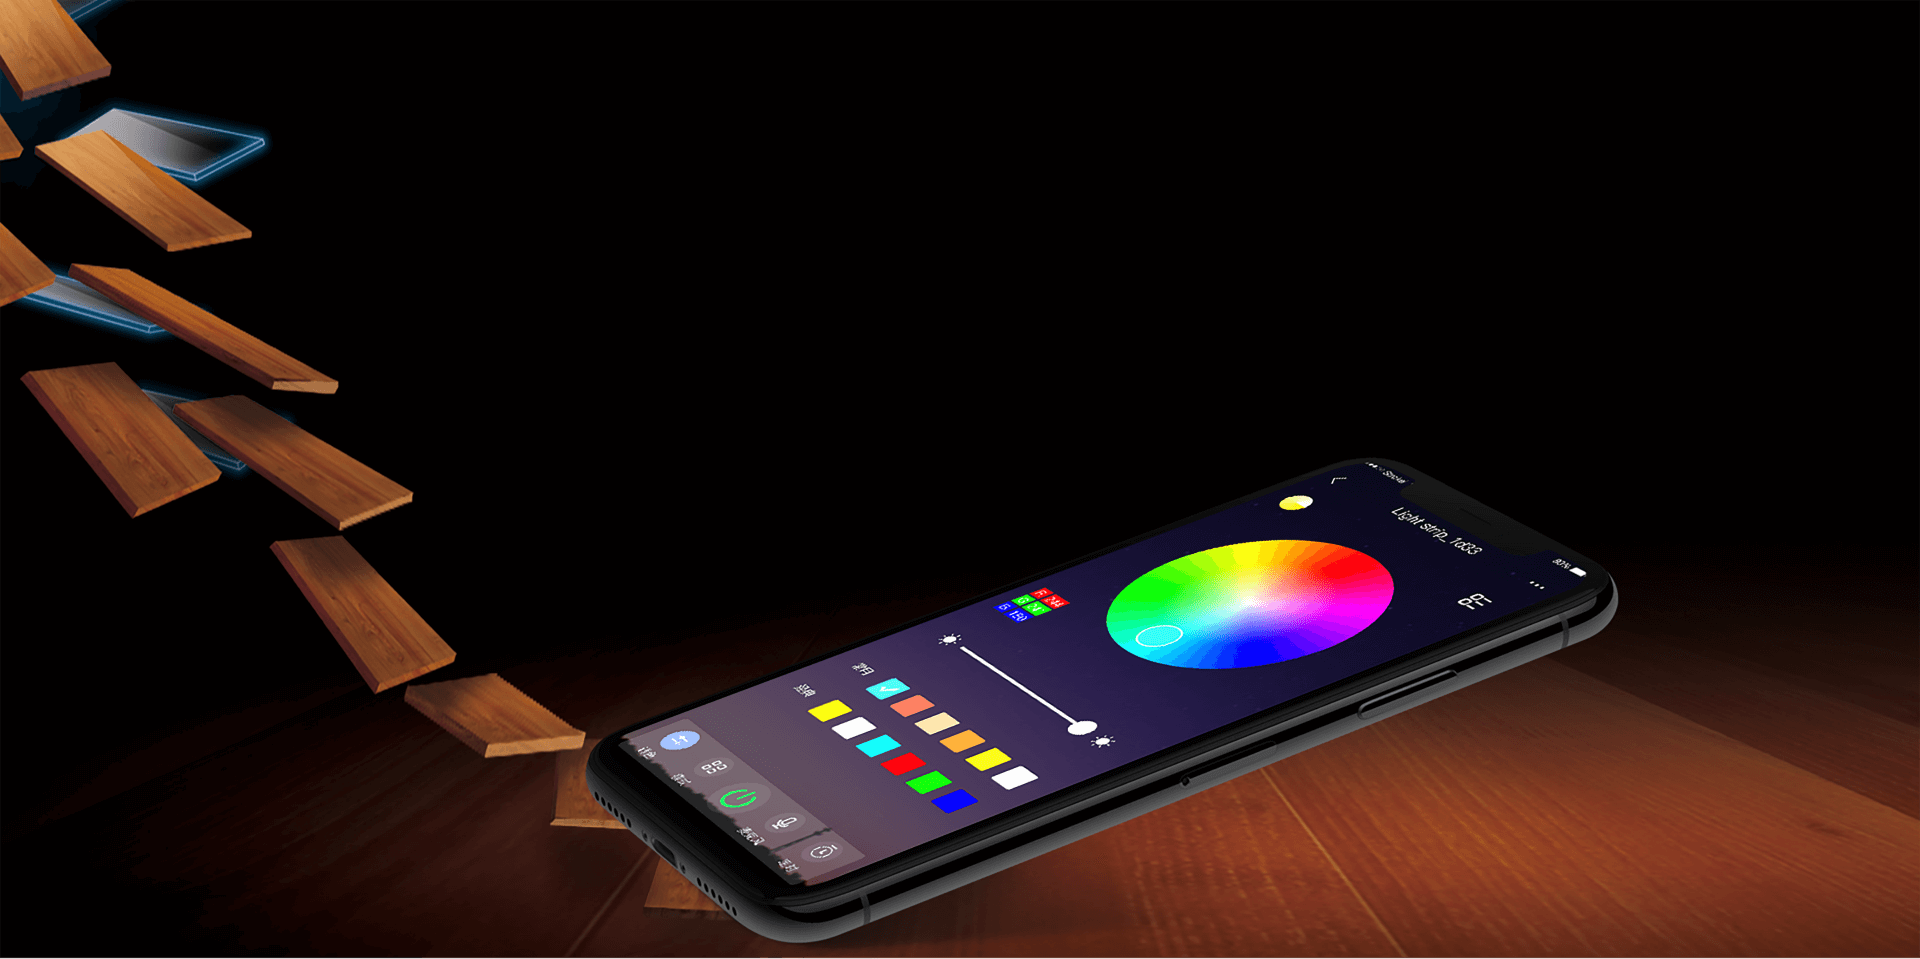
广州深穗科技有限公司是一家主营智能硬件以及平台服务供应的双高企业。公司创立于2016,深耕消费类电子行业,主营电子产品零售;计算机技术开发、技术服务;信息技术咨询服务;机器人销售等行业
基本信息
BASIC INFORMATION

200+客户

400+方案

100+专利
精选客户
DISTRUBUTOR
Sigma Electronics
9,Samrat Silk Mills Compound
L.B.S Marg, Vikhroli West

Mumbai
-400079.
9967994955
7977264935
022-48816234
 MAIL:
MAIL:
sales.sigmaelectronics@gmail.com
accsigmaelectronics@gmail.com
shivengala@gmail.com